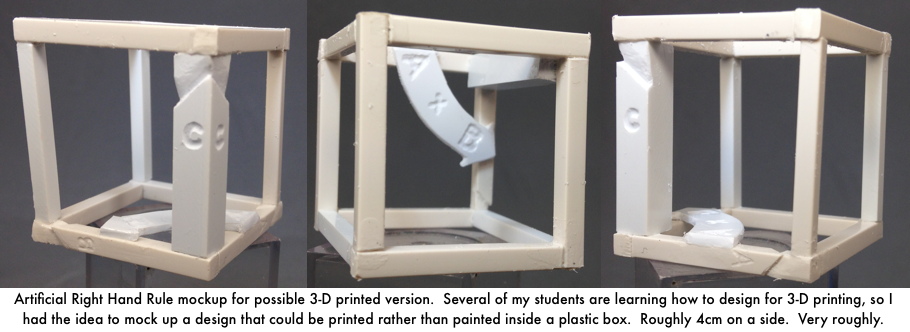
Try 1, quick and dirty.
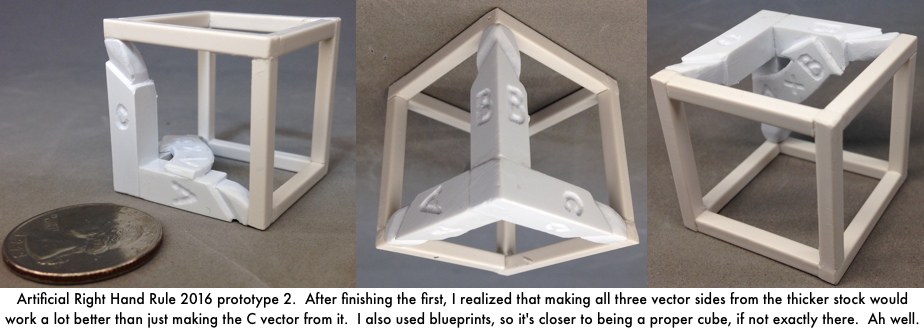
Try 2, done more carefully.
Try 2, done more carefully.
Abstract
In the November 1999 issue of The Physics Teacher, the Apparatus column described a device for helping students without use of their hands perform exercises requiring the Right Hand Rule (RHR). For reasons of space, instructions on creation of an Artificial RHR from easily-obtained materials were omitted. This web resource presents those instructions.
Introduction
In the 1997-8 school year, I acted as a tutor for a student at The Ohio State University who did not have use of his hands. While his strong spatial skills and quick mind enabled him to be successful in mechanics, during the study of magnetism we ran into a problem. He couldn't use the Right Hand Rule, and there's no good substitute for it. After some work, I designed an "Artificial Right Hand Rule" for him, which he reported was a great help.
The following are criteria for a good ARHR if you wish to make one on your own:
The instructions included here are meant to meet all six criteria, especially the last one. The resulting ARHR will not be very pretty or elegant, but should be serviceable. If you have a clear plastic box available, skip ahead to Step 4 and just copy the pattern onto the inside of the box.
Materials
You'll need the following items, all of which should be available at a department store or discount store.
Cut out six squares of clear plastic, about 1.5" to 2.5" on a side. Exact size isn't too important, but too small and they'll be hard to work with...too large and the final product will be unwieldy. Then, using markers or paint, draw the following patterns on the squares:
Make the three main arrows fairly thick, since gluing the cube together at the end will probably obscure some of each arrow.
Step Two
Once the paint or markers have dried fully, take some tape and hook together four of the sections as shown below. Be sure to put the tape on the backs of the squares, as you want the images to be on the inside of the final cube (and therefore unsmudgeable). Also, don't tape along the entire edge, you want to leave some edge open for the next step.
Step Three
Bring the strip of squares together into a box as shown below, with the images on the inside and the tape on the outside.
Once you've done this, take one of your remaining squares and trace it onto a piece of paper. Tape the topless/bottomless box you've just made onto the paper so that it lines up with this traced square. This will help keep it in the right shape while your glue dries/cools.
Now, glue the exposed edges of the box, working around the tape. Once the glue is dry, remove the tape along the sides and finish gluing the edges shut.
Step Four
After the glue along the sides dries, leave the box taped down and glue the top piece (which is clear) to the box. Let the glue dry and then take off the remaining tape. Glue the bottom onto the box. It should look more or less like the diagram below (the rear of the box is colored light blue so you can establish handedness).
You may not get a usable ARHR on your first try, and you'll probably come up with your own method that is less messy, more elegant or whatever. But this should get you started if one of your students has need for such a device.